How to Use Photoshop Content Aware Fill?

Do you ever click on a perfect picture with an amazing background but there are too many people in it? Moreover, there are times when pictures look much better with an extended background.
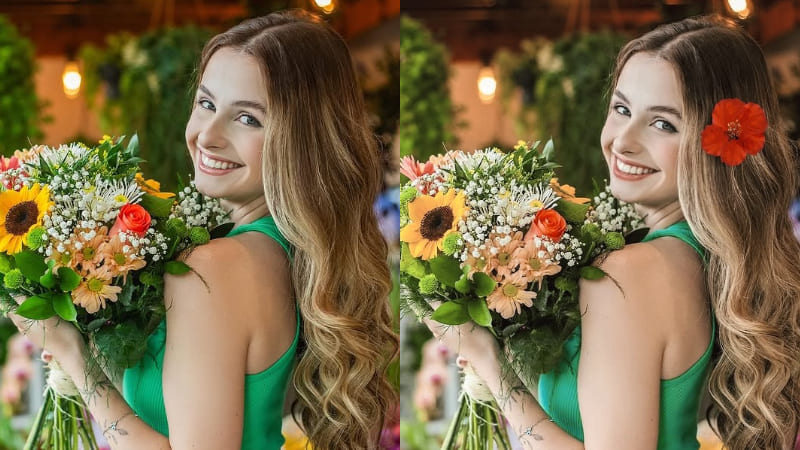
The advancements in AI and Adobe Photoshop help you edit images in a way that allows you to get the perfect Instagramable photo. It analyzes the surroundings fills the spaces and removes objects.
So, let us introduce the Photoshop content aware fill feature and how to use it.
Part 1: Where to Find Content Aware Fill in Photoshop? The Basics
Basics of Photoshop Content Aware Fill Workspace
Adobe has an integrated content aware-fill tool. It removes objects from your photos in the background and fills empty spaces to make the image more aesthetically pleasing.
The content-aware fill algorithm tool works by analyzing the pixel of the image and searching for patterns with similar color, texture, and structure.
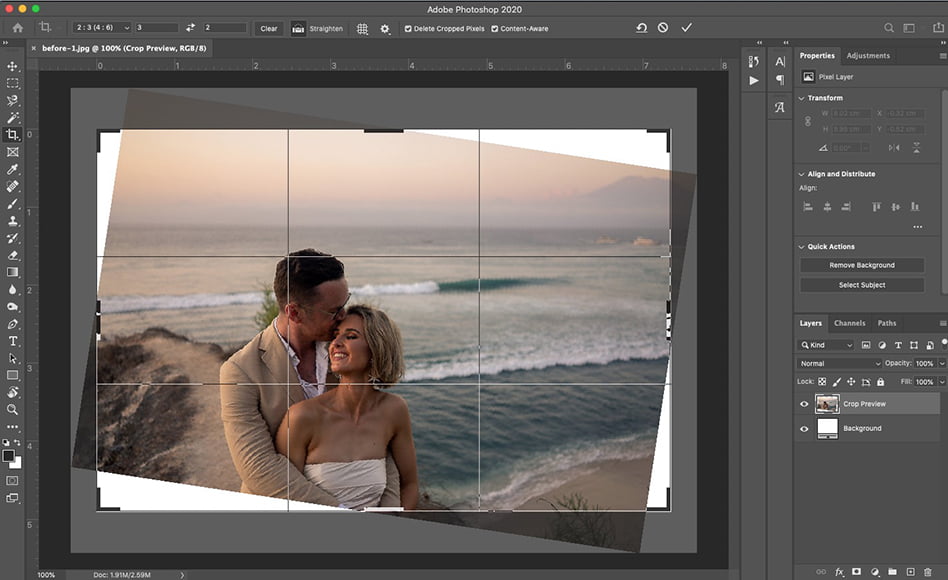
There are mainly two components of content-aware fill workshop; first is the work area which is the main editing screen having tools to work with, and second is the preview panel on the right side of the screen.
These two components are divided by a vertical line. In the work area, you will see a green shadow covering the screen with the selected area in the original image color. This shadow is the desired area overlay.
Furthermore, you can use the following tools to achieve the desired changes in a photo:
- Lasso Tool: It is a selection tool for objects you want to remove from photos and has a rope icon.
- Paint Brush Tool: The paint brush tool given on the left side of the screen is used to select the area to work with.
- Hand Tool: The hand tool is used to move the selected image area in multiple directions.
- Zoom Tool: The zoom tool works to enlarge the size of the image.
- Option Bar: Above the vertical tool icons there is a horizontal option bar with settings related to the tool in use.
In comparison, you can see all the changes in the preview panel after the required editing. Also, right to the preview panel lies the content aware fill and it has four parts,
- Sampling Space Overlay: Here, the whole background to be preserved is selected and you can change its opacity and color.
- Sampling Area Options: It gives options to select and control the sampling area automatically, manually, or in a specific shape using a sampling brush tool.
- Fill Settings: This generative fill part of content fill has options for color and rotation adaption, mirror, and scale.
- Output Settings: In output settings, you choose which type of layer you want to save the image in; new layer, duplicate, or current.
Locating Content Aware Fill in Photoshop
Here is how you can launch and use the content-aware fill to fine-tune a photograph.
Through the Edit Option
Follow the steps given below to locate the content aware fill tool,
- Click on the “Edit” option given at the top of the screen.
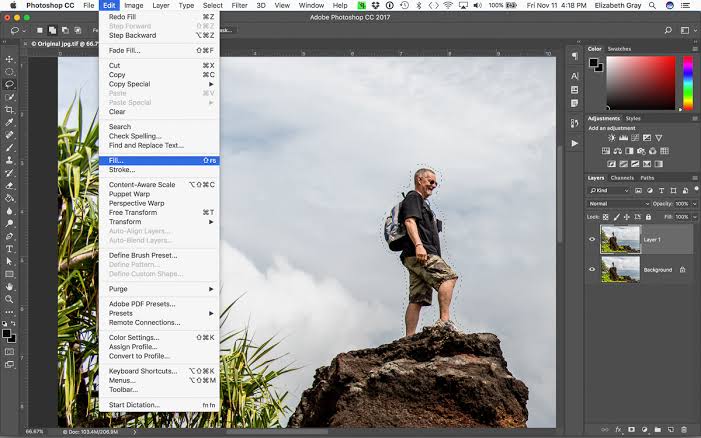
The “content aware fill” is one of the options here.
By Using the Keyboard Shortcut
- Press the keyboard shortcut key “Shift + F5”
- A dialogue menu will open up with the content-aware fill tool option
- Then you can open content-aware fill to remove unwanted objects
Next to the Preview Panel
On the right side of the preview panel, there is a menu box to use content aware fill.
Part 2: How to Use Content-Aware Fill in Photoshop? (A 6 Step Guide)
Let us simplify the process to learn how to use content aware fill by this easy step-by-step guide on editing photos with content-aware fill. S
Step 1: Select the Image
First of all, you have to upload the image you want to work on in Adobe. For this,
- Go to the “File” option given in the top left side of the screen
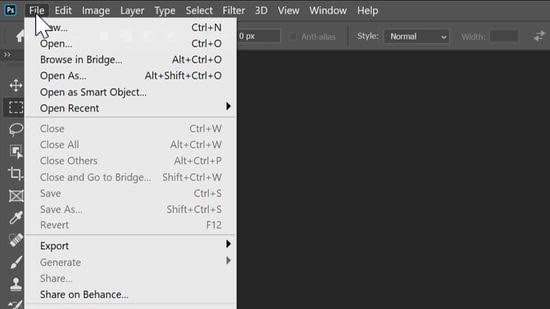
- There will you see an “Open” option
- Click on that option and a window will open up
- Upload the desired image from your PC’s gallery to extend the background, remove objects, or fill it by adding elements around an object
Step 2: Duplicate the Background Layers
While you can directly work on the image you have selected, it is better to create a duplicate image. This will allow you to keep the original content if you end up disliking the edited one.
You can do so by these steps,
- Simply right-click on your mouse button by keeping the cursor on the background area
- You will see a menu bar with an option to “Duplicate Image”
- Click on that option and then the “OK” button
- You are done
Step 3: Select the Area to Work On
Now, it is time to select the objects or people you want to remove from your photos. You can use the lasso to outline the object to remove. Use one of these tools to choose the space you want to work on,
- Polygonal tool
- Magnetic tool
- Object selection tool
- Magic wand
- Quick selection tool
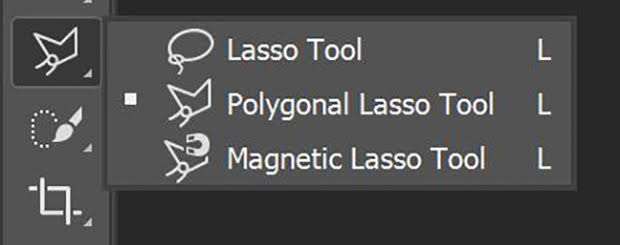
The former creates a rough outline of the area while the latter two make sharp selections. Also, to use a selection tool, you need to click on it a few times.
Step 4: Use the Content-Aware Tool
The four parts of this tool are discussed above, here is how they work seamlessly.
Overlay Options
Firstly, the tool allows you to select the opacity and color of the area you work on. To do so,
- Click on the arrow option on the right side
- Select opacity and color
- Select indications that include default settings, objects to remove, or sample area overlay
Area Options
In the second part, hit that arrow again and options will open up. From these options, select how you want to outline the desired area to work on. It includes,
- Auto
- Rectangular
- Custom
At the end, there is an option of “Select All Layers”. This option is for multiple layers of a single image and allows you to choose options for each layer separately.
Fill Options
You have removed a certain part of the image and it needs to be filled for the image to look real, right? It has an option to seamlessly fill any background with your desired elements. It offers you to,
- Change color and brightness
- Scale the image
- Change the orientation with a mirror
Output Options
You will see 3 options in the output settings as well. Select the layer of your choice from one of the three options.
Step 5: Preview the Results
You can see how your image will turn out in the preview panel, right to the workspace.
Step 6: Finalize and Save the Results
When you are satisfied with the image you have created, you can save it. For this,
- Click on the “apply or OK” option provided at the bottom of the panel of the content aware-fill Photoshop tools
- Also, spot healing brush from the top menu bar
- Use it to finalize the image.
The Image Expanding Feature of Content-Aware Fill
Content-aware fill panel can be used to expand the image as well.
To fill a background using content-aware fill, go to edit and follow these steps:
- The first step here is to expand the size of the image with content. For this, use the canvas size option from the menu bar.
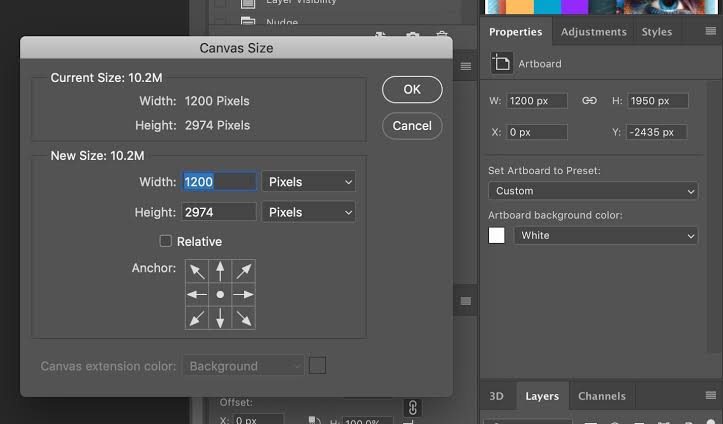
- Do not select any color as you need it to be white to fill the background, untick the ”Relative” option and hit ”OK”
- Open the content aware fill in Photoshop to fill in the background
- Click on the blank area with the rectangular marquee tool
- Change the color, rotation, mirror, and scale options to fill in the rest of the image and match it by following the steps mentioned above
- Click ”OK” and you are done
Part 3: Why Can’t I Use Content-Aware Fill in Photoshop? (3 Reasons and Solutions)
Here are some reasons why you cannot edit a photo using Photoshop content-aware fill.
Disabled Content-Aware Fill
If you have not properly selected the area you wish to work on, content-aware fill is disabled. You can use the lasso tool to make a selection which enables this content aware fill and helps you remove unwanted objects or expand the background.
Having Uniform Background
Content-aware fill works better when there is content in the background. it analyze the surrounding of the main object and extends the background accordingly. A background that lacks details in pixels is hard for content fill to work on.
In this case, using a background with more color, structure, and texture helps as it provides more information for Photoshop to work on.
Using an Older Version of Photoshop Content-Aware Fill
The older versions of content-aware fill settings are prone to be damaged by bugs leading to interference with the speed and efficiency of this tool. You can manage this problem by updating the older version of Adobe to the latest one.
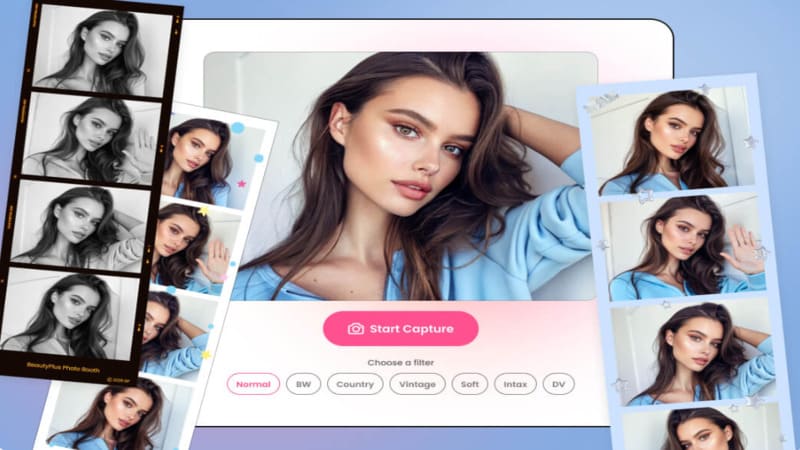
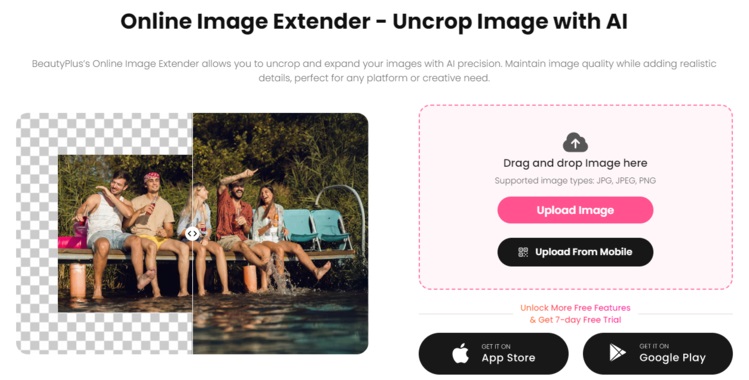
Part 4: Alternatives to Photoshop Content-Aware Fill – BeautyPlus AI Image Expander
Using content-aware fill is a little tricky, especially for digital noobs. Therefore, if you are looking for a seamless alternative to content-aware fill, we suggest you try BeautyPlus AI image Expander.
Here are some benefits of this software,
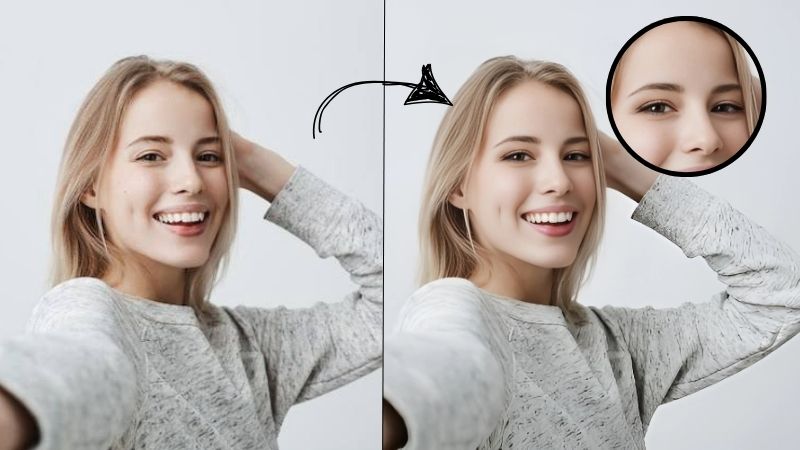
- Resize the images instantly
- Fill the empty spaces with simple clicks
- Automatically analyze pixels and create a natural-looking picture
- Removes objects from an image quickly
- Provides better results
How to Use BeautyPlus AI?
As we mentioned earlier, using BeautyPlus AI is much quicker and straightforward, here are the steps to use it,
- Tryl BeautyPlus online image extender by clicking on the link
- Upload the image to work on by clicking on the pink box
- Select the ratio of the image you prefer
- Click on the “Generate” button to fill in changes in the background
- Download the image when you have the required results
Conclusion
The content aware tool of Adobe provides a way to remove objects from photos, expand the background, and make the image more consistent. However, you might not be able to use this because of some bugs, lack of uniform background, and choosing the area inappropriately.
This can frustrate the users. Therefore, you can use BeautyPlus to edit your images quickly in simple steps. in such cases. Photoshop is more precise and offers advanced editing options while BeaiutyPlus is simpler to use and is also quicker.
If you want to explore more on BeautyPlus app, click the button below!